Everyone needs some balance in colours every now and then… be it dressing up or makeup!!! Also it is always not possible to use bright bold colours in the day light, especially when we go to work or college. But some of us (read me), who love makeup always want some definition on our eyes!!!
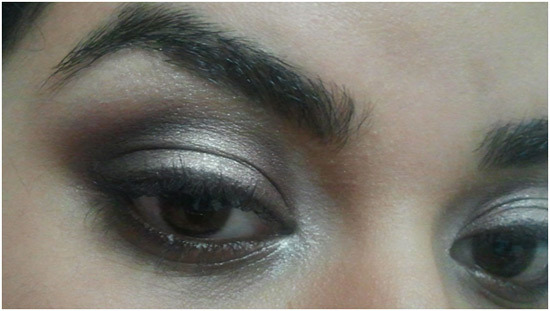
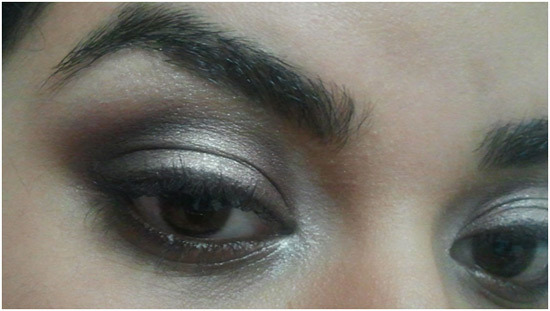
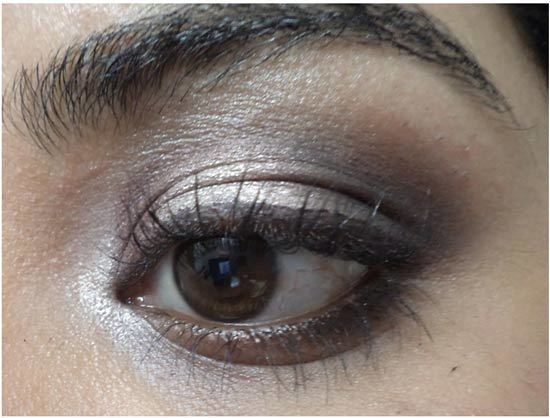
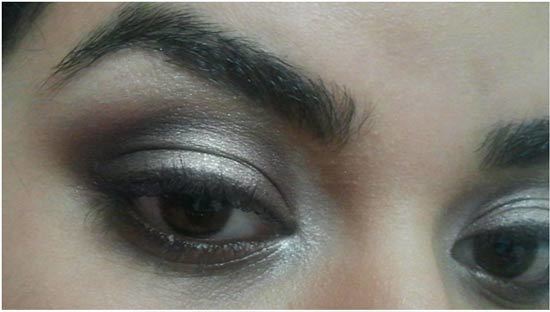
In such cases what do we do? We possibly could choose neutral shades with a twist. Today’s tutorial is on a day wear smokey eye using neutral colours, espeically for office and college wear. It is very simple yet eye catching.
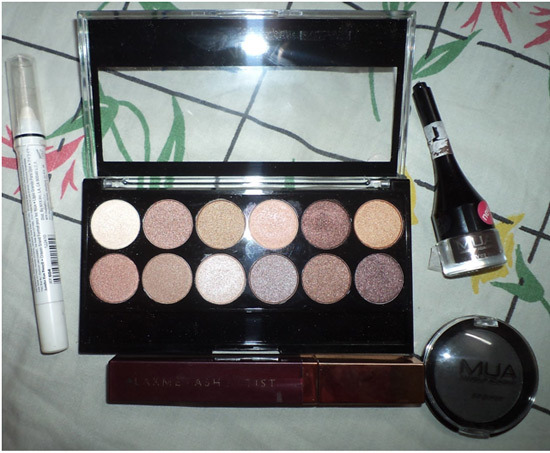
Those of you who follow me on Twitter, Facebook or Instagram must know that I recently hauled from MUA. So today’s EOTD is using one of their palettes called ‘The Heaven and Earth’!!!
I’ve heard people saying Heaven and Earth is a dupe of Urban Decays Naked 2 palette…but that is not quite true… as they have different shades.
So anyway….let’s getting right to it!!! My version of the neutral eye makeup.
Things I used:
- MUA Professional Heaven and Earth palette
- MUA single matt eye shadow in Shade 20
- NYX Jumbo Eye Pencil in Milk
- MUA Gel Liner in shade ‘On the Go’
- Lakme Lash Artist Mascara
Step 1: Prime your eyes and apply your foundation and then jump on to the tutorial. Sorry for the bad picture quality forgot to take a picture of this step… However, this was a video grab from my filmed video….
Step 2: Apply NYX Milk as a base on your lid and blend it out.
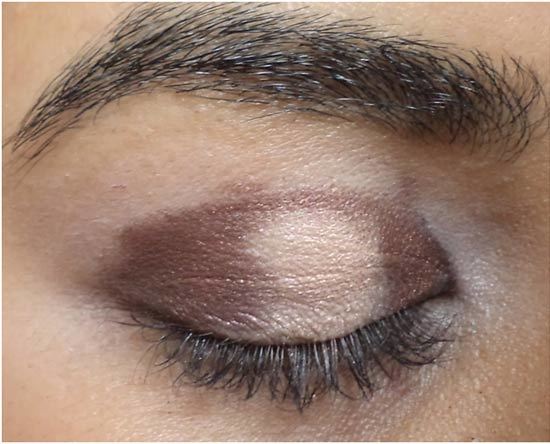
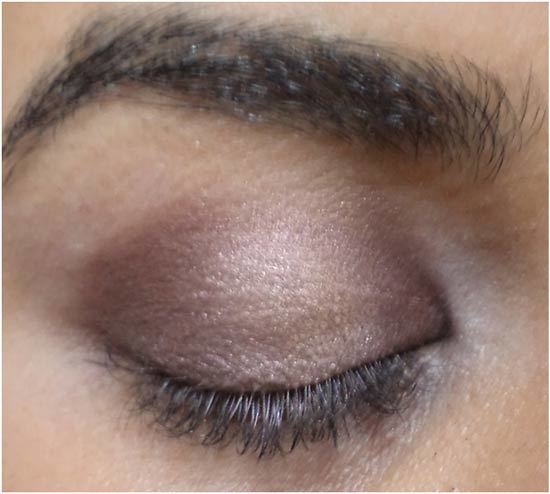
Step 3: Take the fourth shade in the top row from the left of the Heaven and Earth palette. It is a very light pink colour that I would call as a champagne pink. Apply that shade on the centre of your eyelid.
Step 4: Now take the shade second from right on the same row. It is a rich coffee brown colour, which is then applied on the inner third, the outer third and joined through the crease of the eyelid.
Step 5: Once this is done this, blend out the shades such that they merge into each other. Make sure that the colours merge seamlessly blending into each other with no defined edges.
Step 6: While blending…The central lighter shade might have got blended…so add a little more light shade on it…This is done to help the eyes look big!!! (Lighter colours reflect light, thus making eyes look bigger.)
Step 7: Also add the lighter shade into your tear duct to open up your eyes.
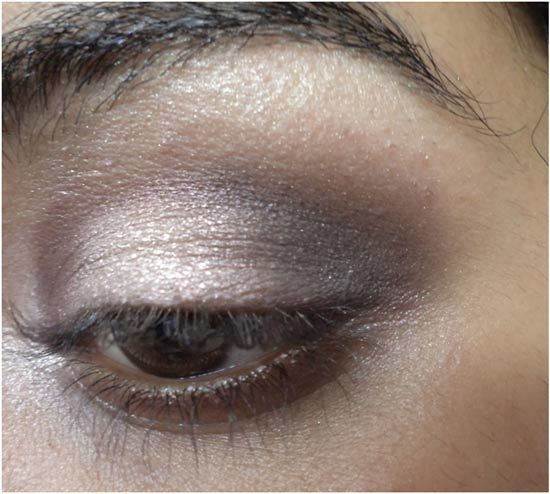
Step 8: Deepen up the brown on the outer corner of the eyelid with a matte black or a brown that is darker than the brown used earlier. Here I used the MUA single shadow in shade 20. This is said to define and add depth to your eyes.
Step 9: Highlight your brow bone with the first shade from the left in the top row in the palette. This one is an almost matte creamish white colour.
Step 10: Take the coffee brown that you applied to your eyelid and line your lower lash line with it, until it meets the lighter shade at the inner corner of your eyes.
Step 11: Line your eyes with a dark brown liner. I used the MUA gel liner in the shade on the go. You could also use any pencil or a liquid liner but in a brown colour.
Step 12: Line your lower lash line only until halfway of the eyes from the outer corner to open up the eyes.
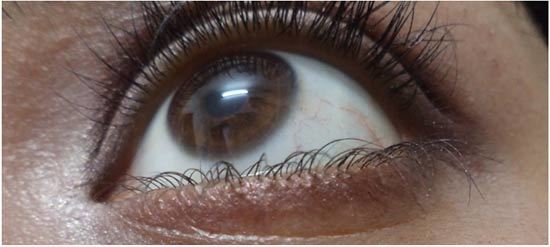
Step 13: Tight line and waterline your eyes with a dark brown liner. I again used the same gel liner from MUA.
Step 14: Mascara your lashes and you’re done. Since it is a day wear look, do not go over the top with the mascara.
Hope you liked the tutorial. Do try it out soon and let me know how it turned out for you…
No comments:
Post a Comment